
DIY Scrap Wood Toilet Paper Holder
Sam From DIY Huntress decided we all needed to do a scrap wood project while being stuck at home during the crazy virus times. CLICK HERE to check out the full list of videos from makers who joined the challenge!
For my project I decided to make something relevant... For some reason people are hoarding toilet paper so I figured maybe some people would need a place to put it! Haha!
Tools and materials used in this build (Affiliate links included)
Amana Tool Combination Ripping & Crosscut 10"
Mirka Deros Orbital sander and vac
SUIZAN Japanese Hand Saw Pull Saw 7 Inch Flush Cut Saw
Woodpeckers Carpenters Precision Square
JessEm Clear-Cut TS Stock Guides
Rockler 3/8'' Dowel Drilling Jig Kit
I had a bunch of Knotty Alder scraps laying around and I figured I may as well use them up.
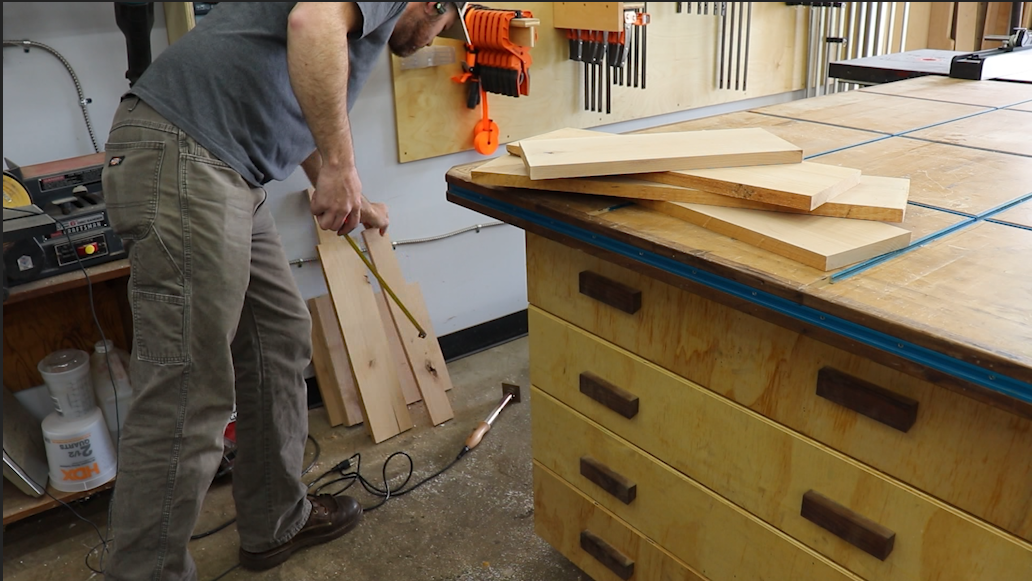
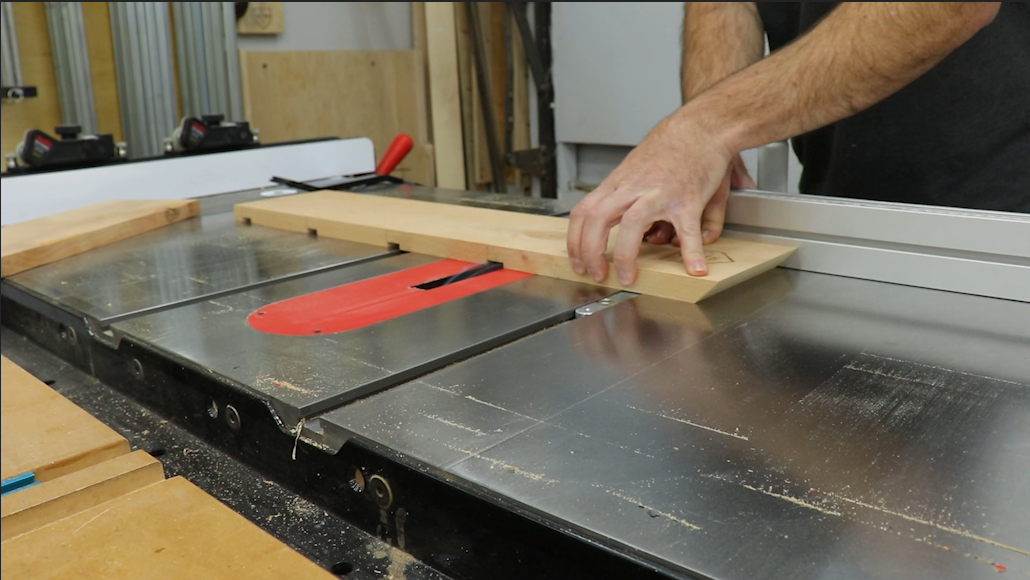
I started by ripping all my boards down to 6" on the table saw.
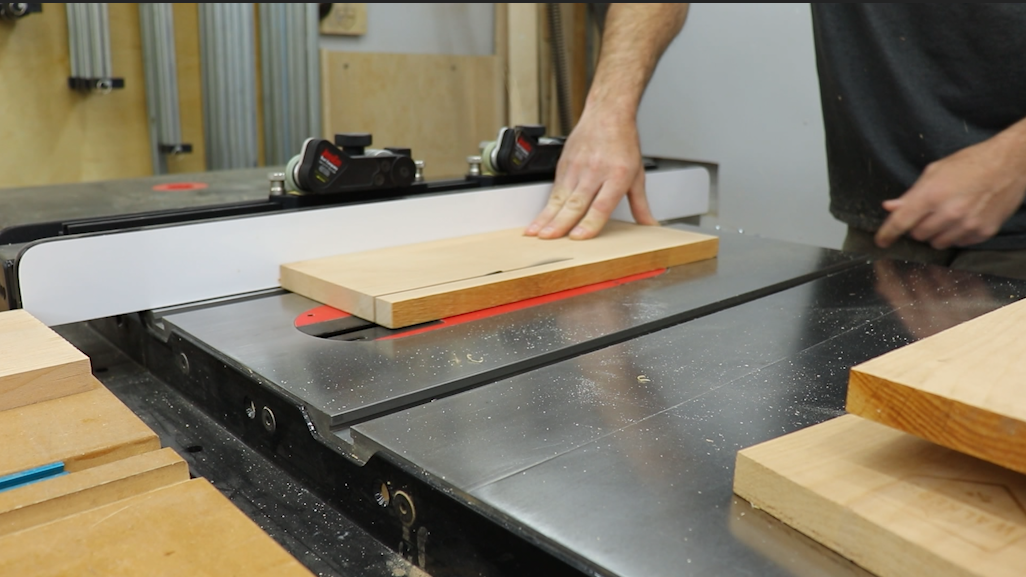
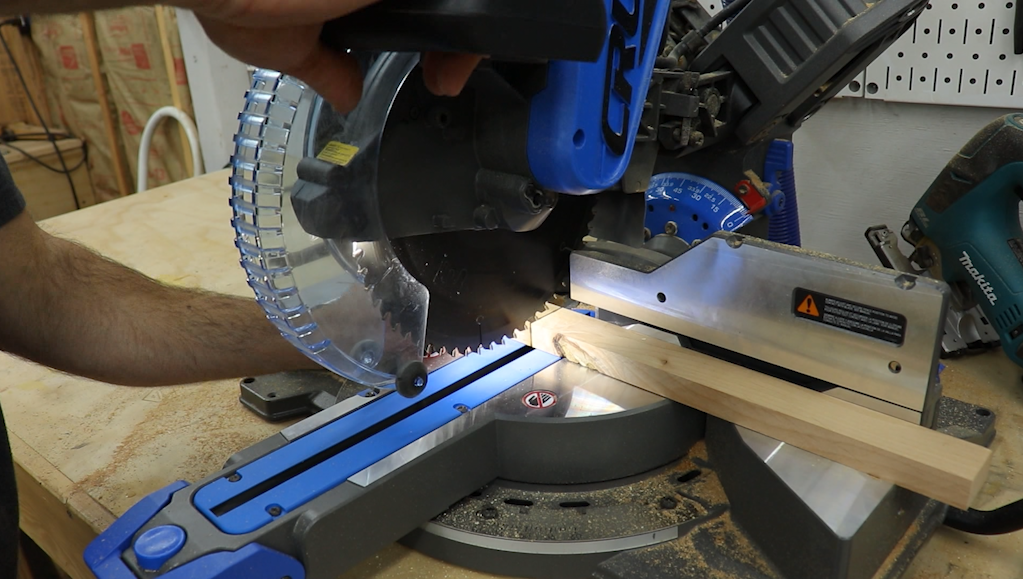
Once I had then all ripped to width I took them over to the miter saw and cut all my pieces to length.


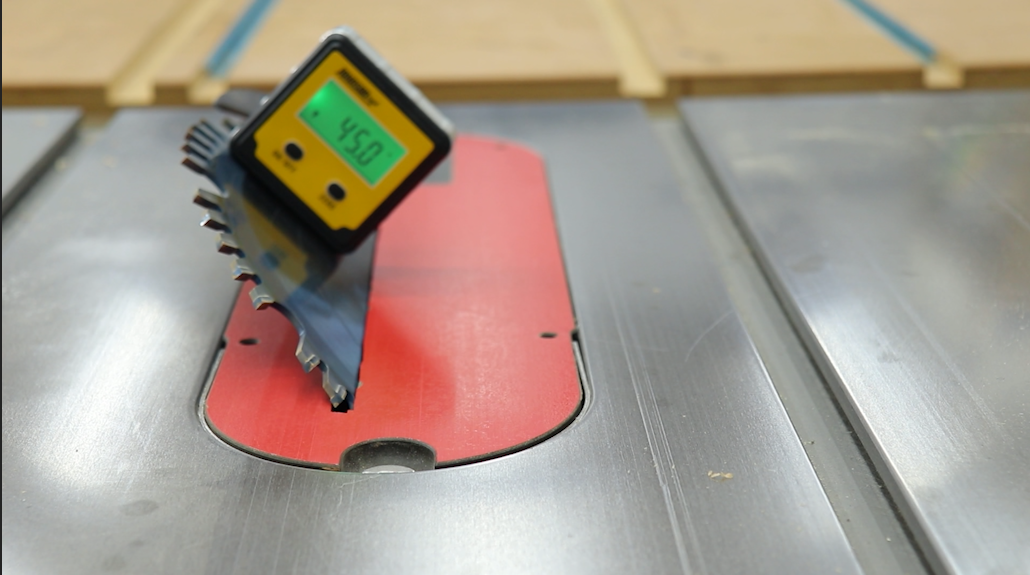
I decided to use a couple different joinery methods on this piece. One being miters on two corners.
I always like using this digital gauge to make sure my blade is set at exactly 45 degrees.
I cut one at the very top of each side and on one end of the first shelf.

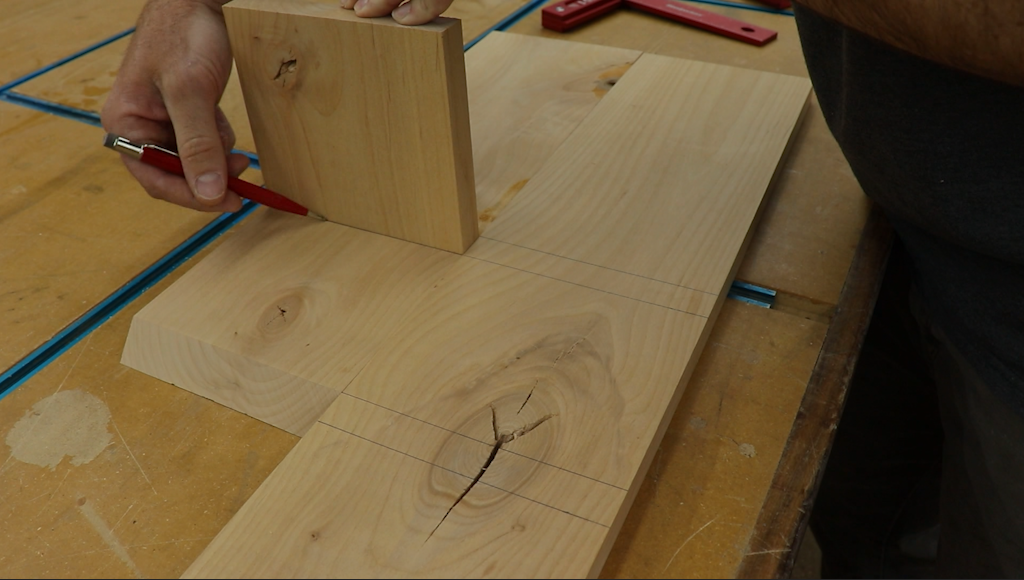
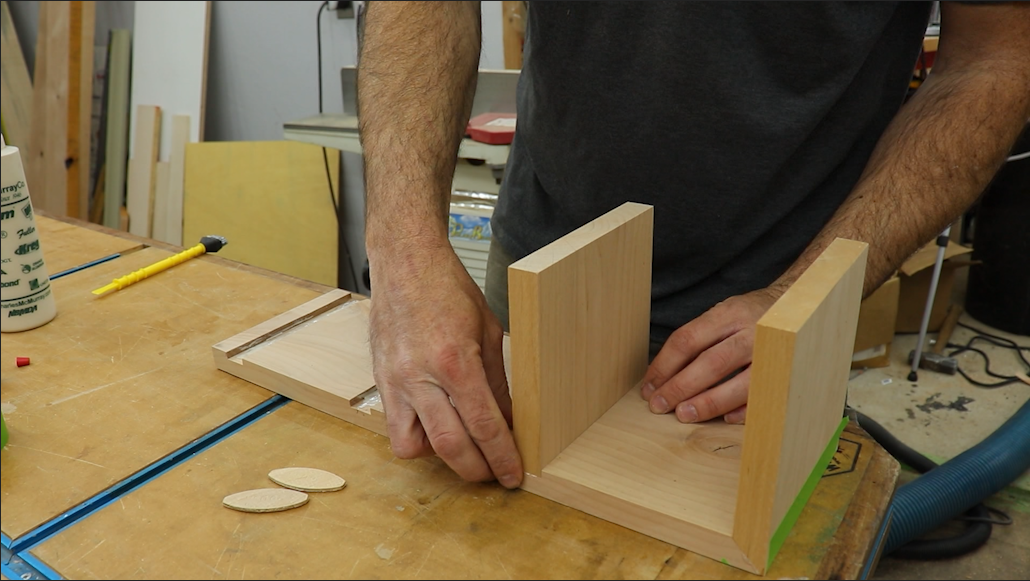
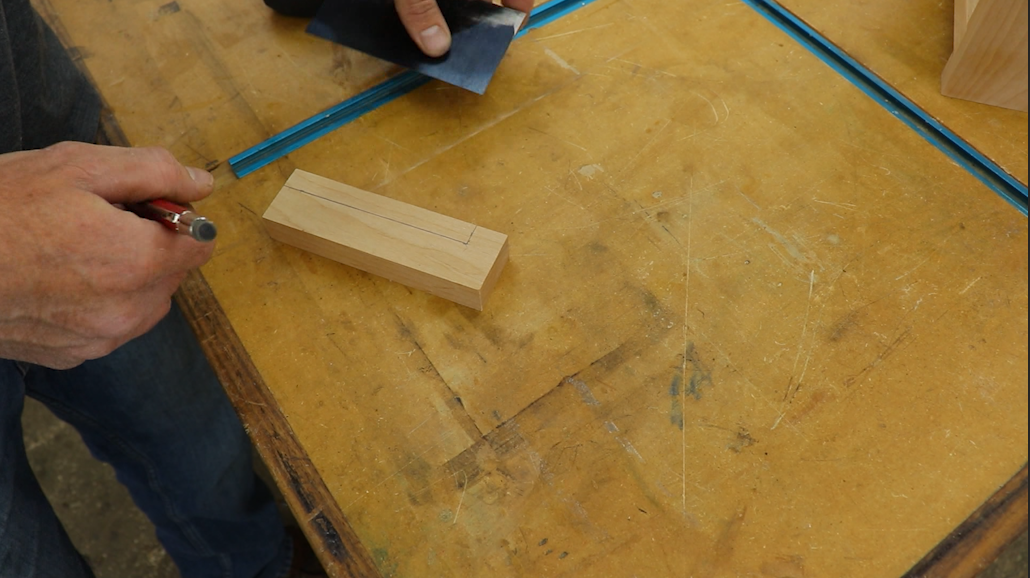
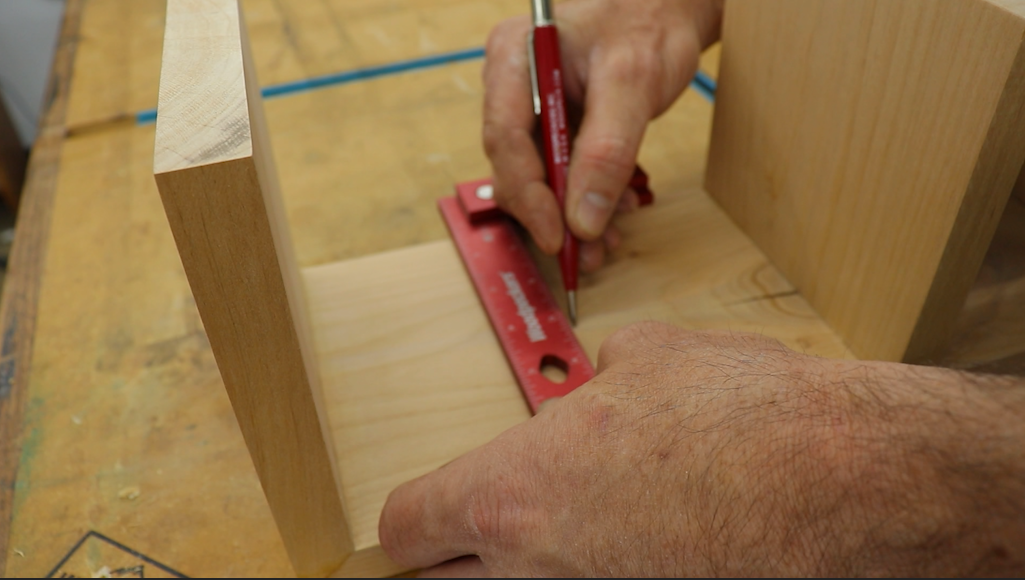
After I had the 45's cut where they needed to be I measured and marked where I would cut dados for the shelves.

Instead of measuring I used the actual shelf to make marks where the dados needed to go.
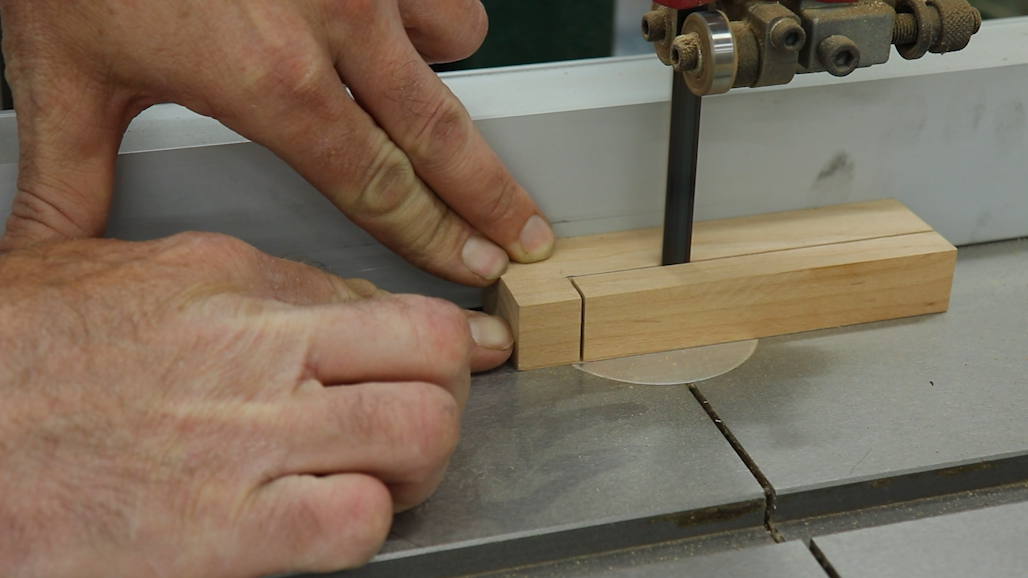
I chose the appropriate dado blades to create the same size dado as my shelf and installed the dado stack in my table saw.
If you don't have a dado stack you can use a regular blade and make a pass on each side then several passes to clear out the middle.

Then I set the blade to 1/4" high and cut the dados.
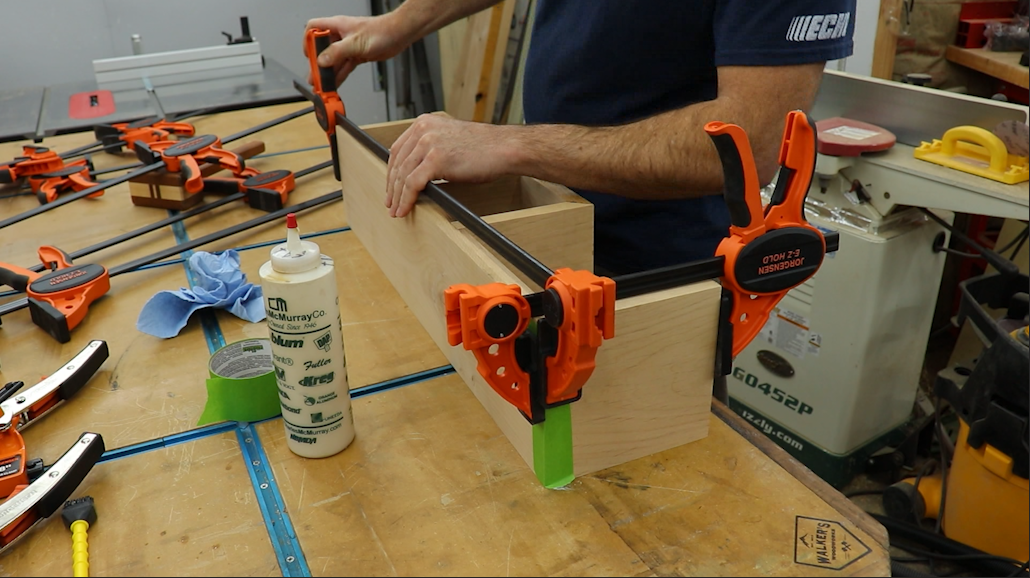
For the miters I decided to just use a biscuit jointer for these. There wont be much stress or weight on these shelves so this should work just fine.
The biscuits help line up the joint and provide a small amount of strength.

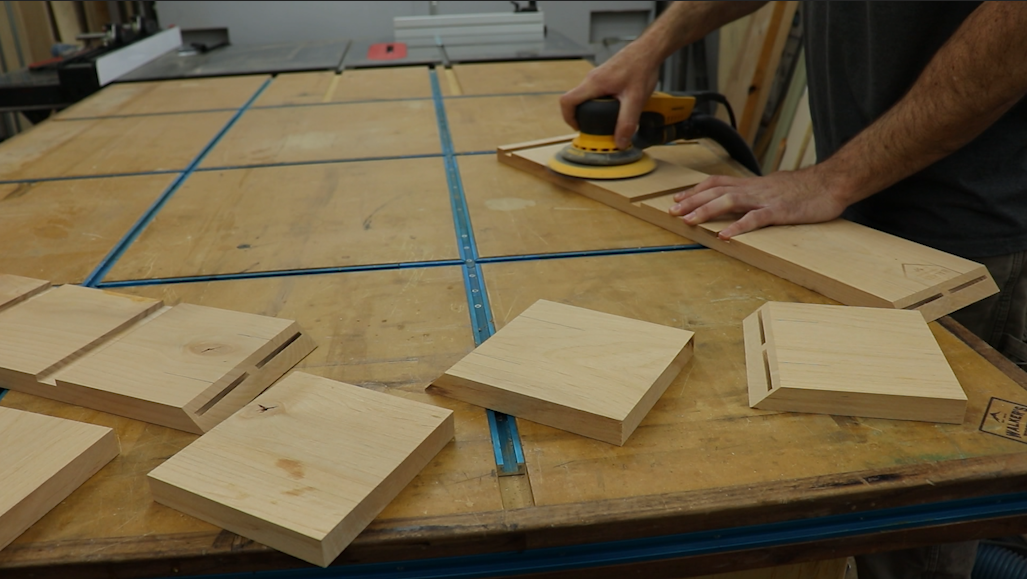
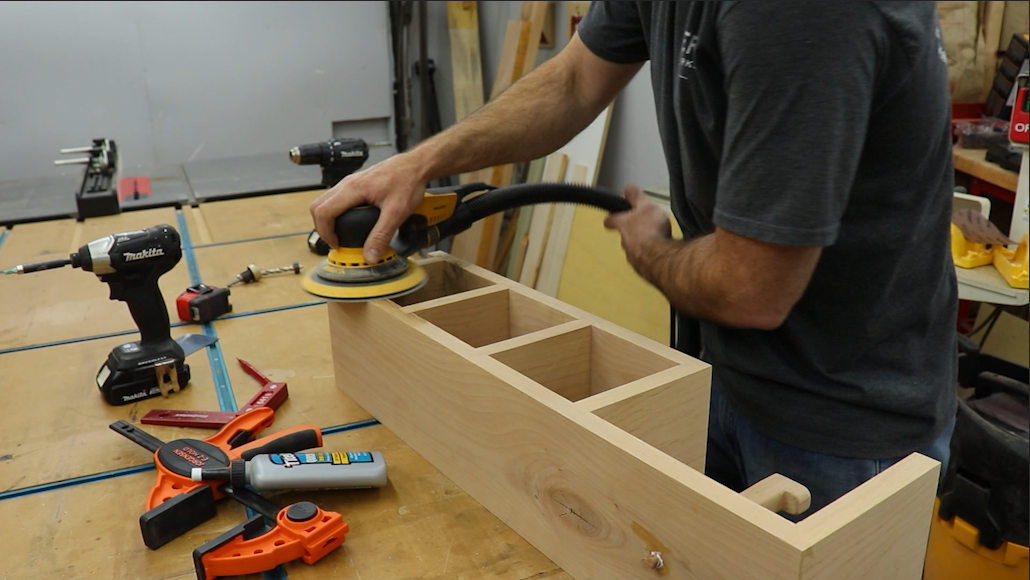
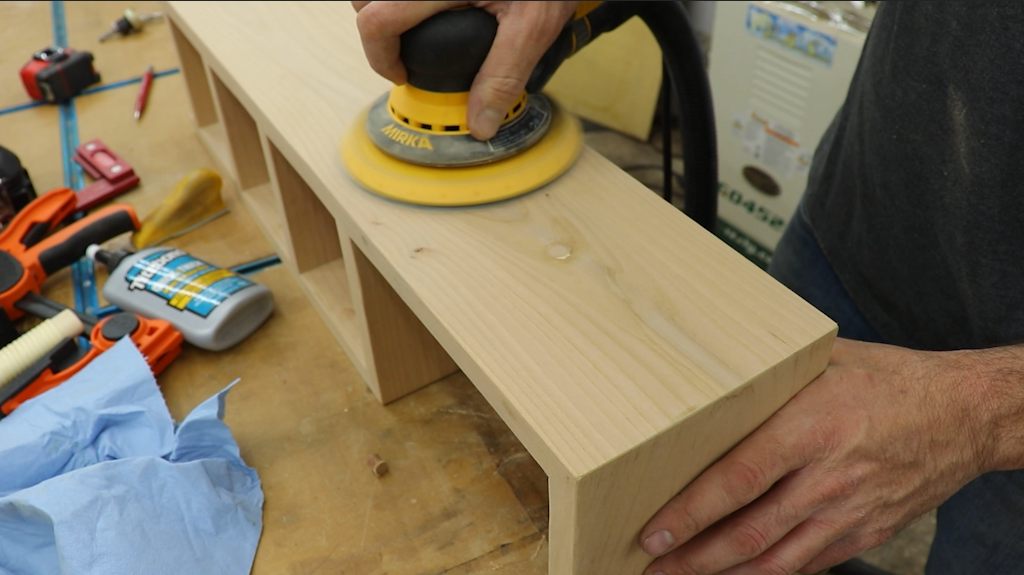
I made sure to pre sand some of my pieces (especially the inside) before assembly. It is much easier.
I used tape to line up the joints and then I glued them up.

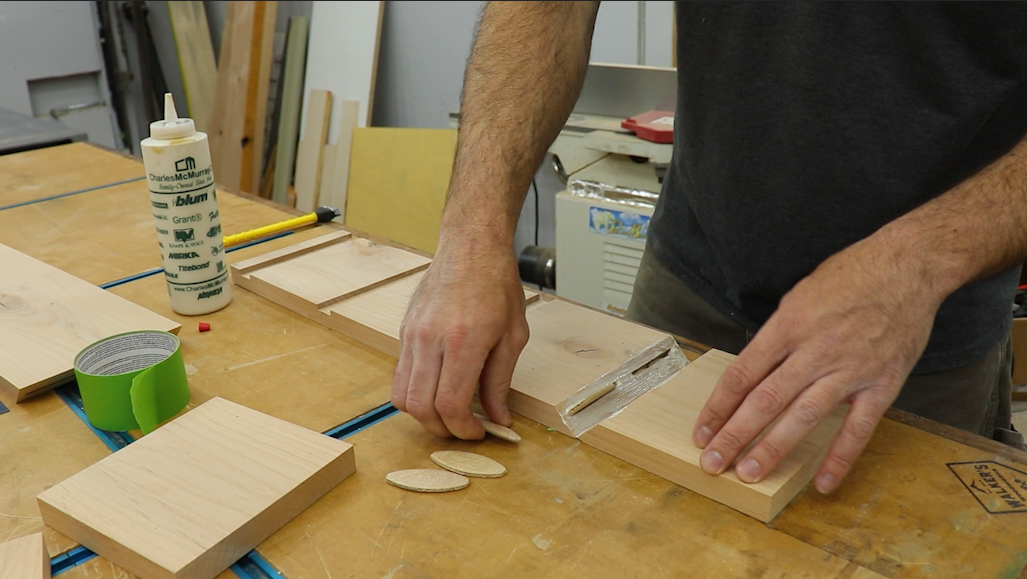
I did the glue up in 2 steps. They make clamps for miter joints but I feel like I have better control using regular squeeze clamps. The first glue up i did the lower miter and all the shelves.
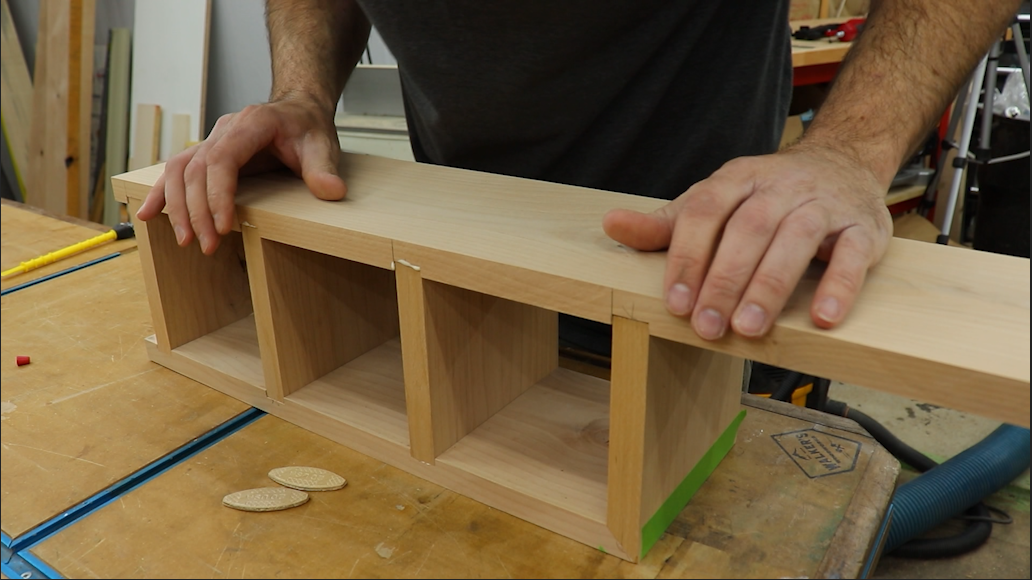

The second one I did the top miter to attach the upper shelf using the same method.
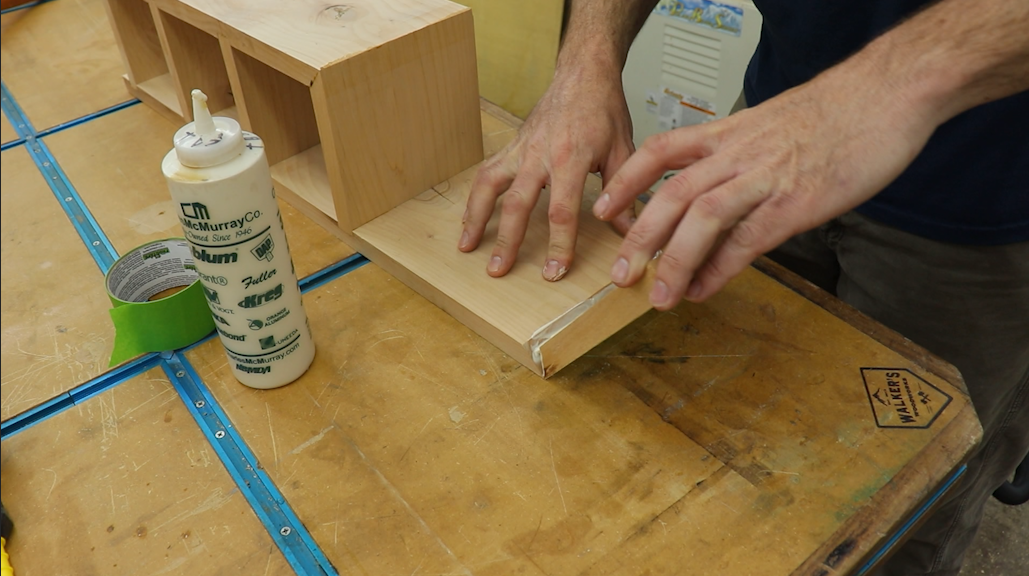
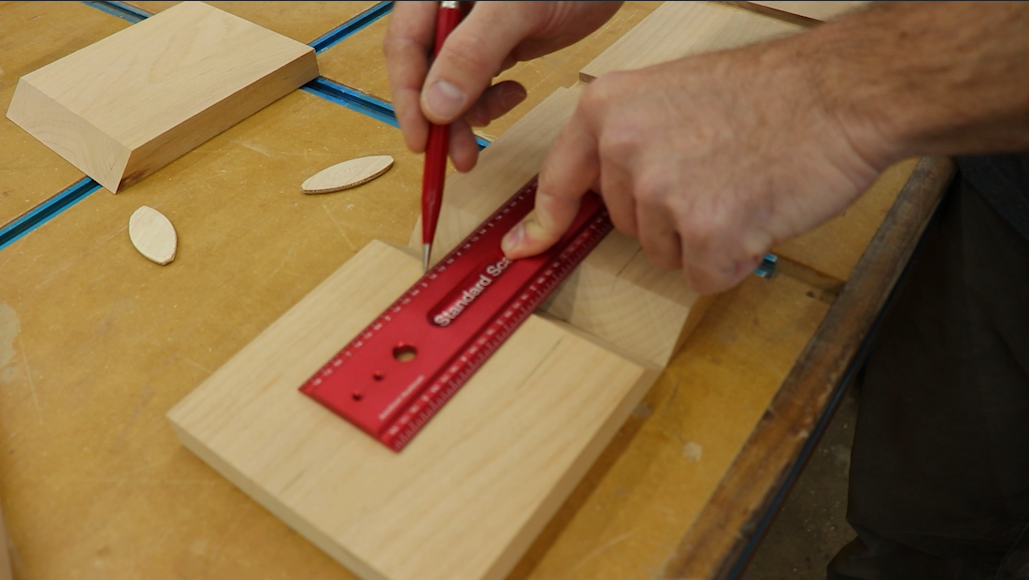
Once everything was glued up I turned my attention to the actual toilet paper roll holder. I ripped some more scrap down and the cut it to width.

Then I made marks to form an L shape to keep the toilet paper from sliding off the end.
Then I cut the shape out I took it over to the band saw.
Once I had the rough shape I used my Kutzall Rasp to shape it.

I sanded the areas where the holder would be so I didn't have to do it later.

I measured and marked where the hole would go to mount the holder.
I made sure to pre drill the stand and the holder itself so there wouldn't be any splitting.


I also decided to plug the hole so I drilled a 3/8" hole to allow for the plug.


Once I had it attached with a 2 1/2" screw I installed the plug with some quick setting glue.

While I waited for the glue to dry I sanded the whole stand to get it ready for finish.

After the glue was dry I flush cut the plug and then sanded so you cant see the screw from the outside. Plugs are a good finishing touch so you don't see the screw head sticking out.

I decided to try out the Walrus Oil Furniture butter on this and I really enjoyed using it. So easy to apply. Basically you just wipe it on then after awhile you wipe off the excess.


That wraps up this project. I want to thank Sam from DIY Huntress for putting this scrap wood challenge. It was a blast and I hope you guys check out everyones projects because there are a ton of talented people that participated. Get out in the shop and make your own scrap wood project and enjoy the time we have at home. Stay safe and I will see you guys on the next one.
Playlist of everyones projects - Scrap Wood Project
